Building a 67 Bud

Intlwaters

Help Support Intlwaters:

This site may earn a commission from merchant affiliate links, including eBay, Amazon, and others.
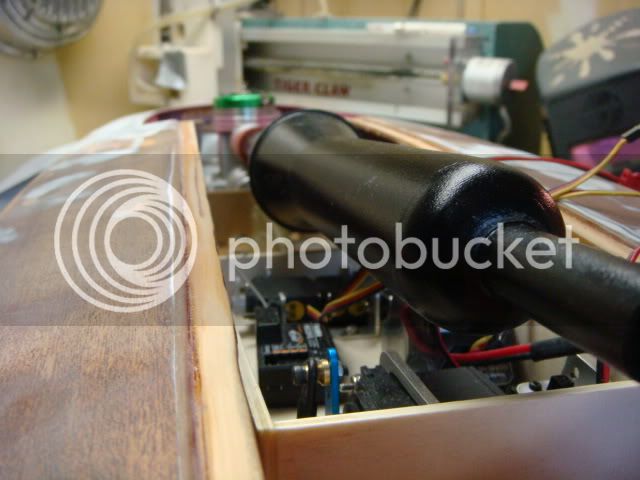
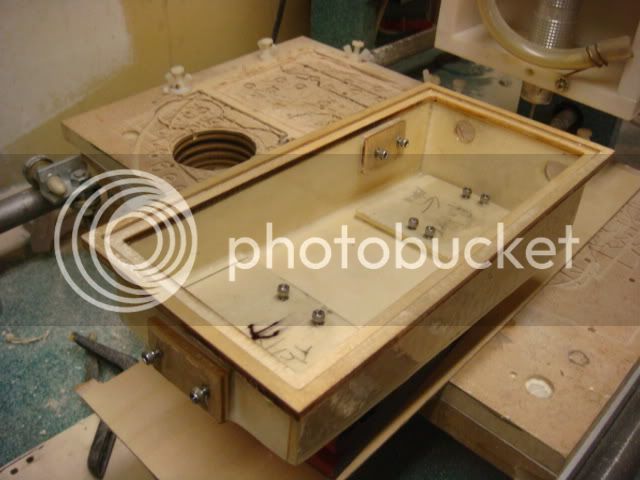
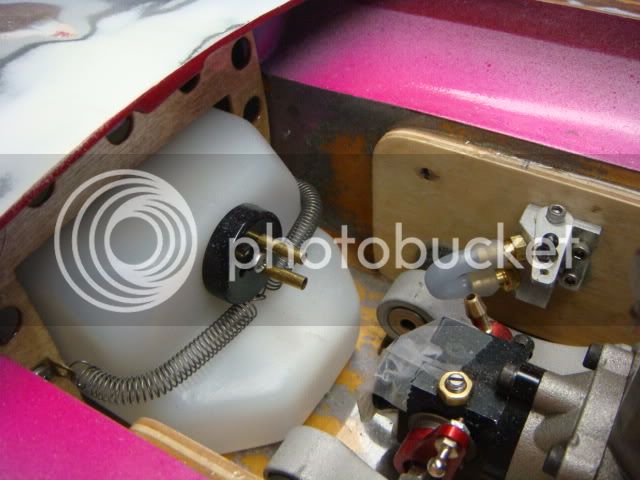
A veiw of pipe clearing radio box.

DSC04387.jpg


As to fuel tank, I went with the 20oz size.

Also using the Mark Grim mixture valve.
DSC04388.jpg
 
I have been following your build, it's looking great, lose the spring in favor of a O ring, and mount your receiver and battery with velcro, make sure the fuzzy side is on your rx, and Battery, cleaning if you have to the hook's are much ez'er, Looking good!!!..Corey
 
I have been following your build, it's looking great, lose the spring in favor of a O ring, and mount your receiver and battery with velcro, make sure the fuzzy side is on your rx, and Battery, cleaning if you have to the hook's are much ez'er, Looking good!!!..Corey
Thanks! Will do the velcro. As to the springs there gonna stay till winter refit. No time I'm pushing to get her wet before season is threw.

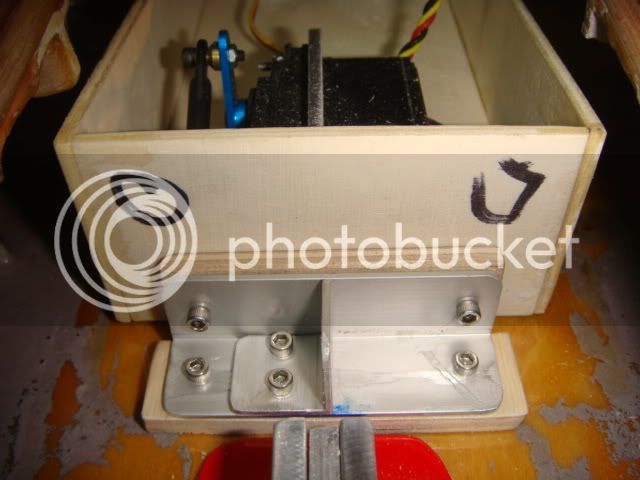
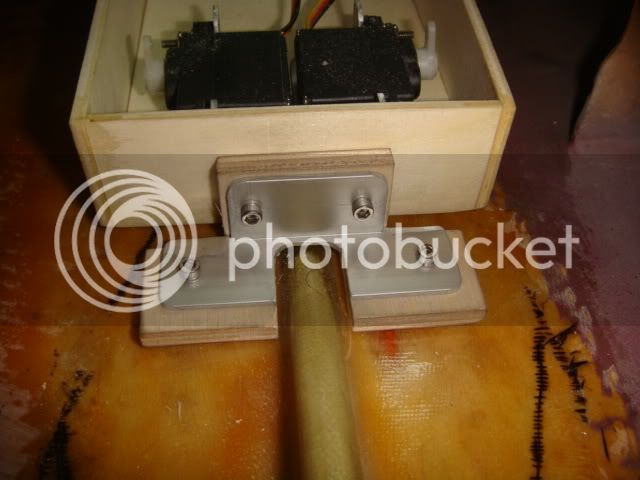
Just prepping to mount radio box to hull. Then it's linkages, maybe this Sunday???? Will update!
You need a stinger kit from CMD for that pipe or you can make one .430 is the correct size for a scale.
It's a CMB AB.67 Silenced Marine Tuned Pipe. got it here; http://www.hobbysupplies.com.au/CMB%20Pipes.htm

Plan to do threw transom exhaust, Don't think it need a stinger.
 
With radio box in the back and the tuned pipe going above it, where does the exhaust exit the boat? I can't seem to picture it.

Thanks

Harry
 
Last edited by a moderator:
With radio box in the back and the tuned pipe going above it, where does the exhaust exit the boat? I can't seem to picture it.

Thanks

Harry
Well plan is straight out the transom. I've picked up some tubing from Mcmaster Carr P#51135K84 http://www.mcmaster.com/#51135k84/=3kbac5 Nice stuff!

will be a bit of a bend to exit.

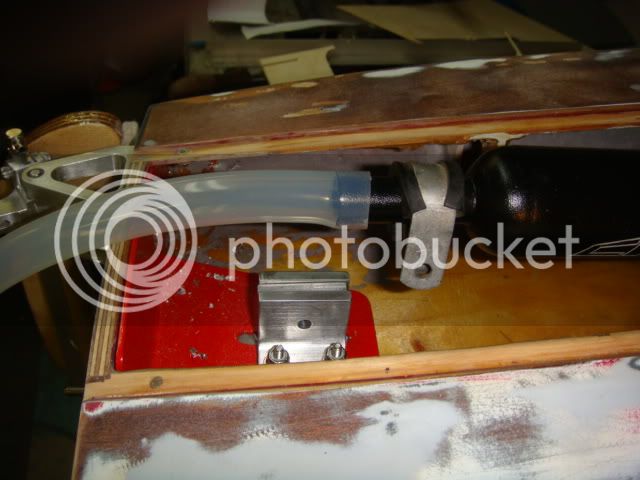
Pipe gets a brace up from back of radio box mount(bracket)see above.

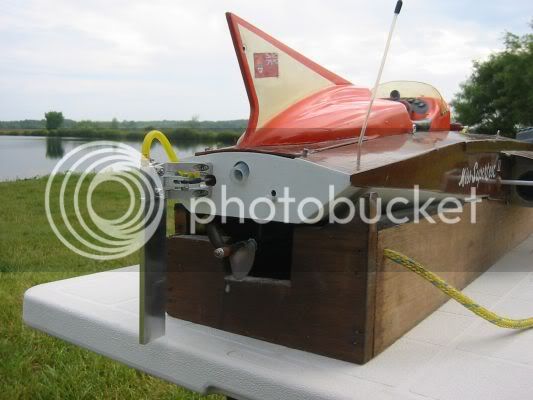
Here is a general view.

Will exit same a Miss Supertest here!

DSC04400.jpg


normal_Supertest_019.jpg
 
Last edited by a moderator:
OK. I like that! Just never seen it done before. I was worried it was going out the rear cowling.
 
Well pond conditions were poor for testing windy and rough! Started out with zero degrees on the strut and no weight in the nose. Needless to say she blew over very nicely.

Added a pound of lead on the nose and could use more. Also add 4 deg to strut that helped but needs more will set to 5 deg.

Main thing all went well and nothing broke.

Ended up using a 1/2 gallon on the new engine.

Small Vid clip;

need to adjust more deep strut about 1.25 to 1.50" Have a fun boat Good Luck!
 
Let me rephrase this (Main thing all went well and nothing broke.) Should read ((no one got hurt!!))

Rudy and I start to pit the boat after a stall! He tells me he's changing to another prop.

Ok so I refill the tank and then decide to clean the water outta the engine with 24V! Lucky the prop was off the drive dog at that moment!

Stupid and inexperienced is all I have to say about my actions at this time! Sorry Rudy!
 
As to the setup, I need to get a note book :rolleyes:

Strut was at 3.6 deg not 4 as stated above. We had a problem with the stuffing box rubbing the shaft saver collet.

I've since cut back the stuffing box, and routed out strut exit hole threw hull bottom = room to adjust strut angle.

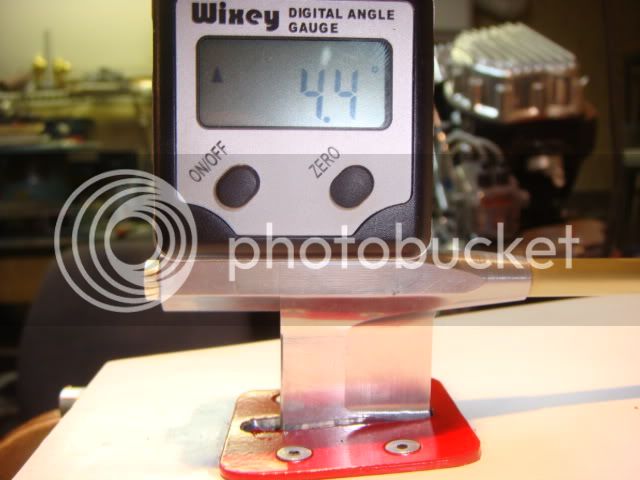
Have since reset strut to 4.4 deg

DSC04412.jpg


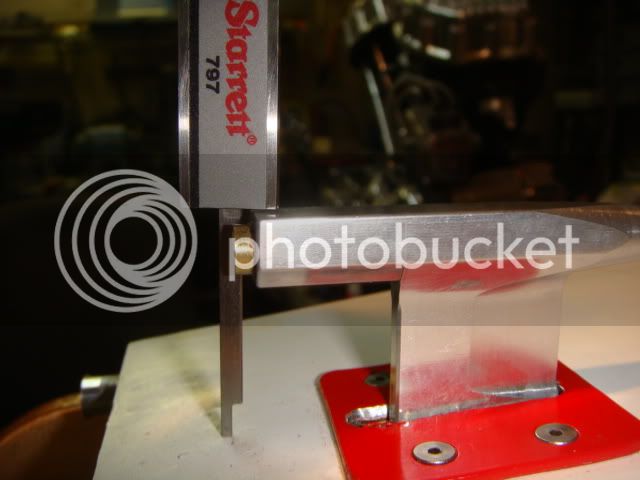
Also brought the strut down to 1.5"

DSC04410.jpg


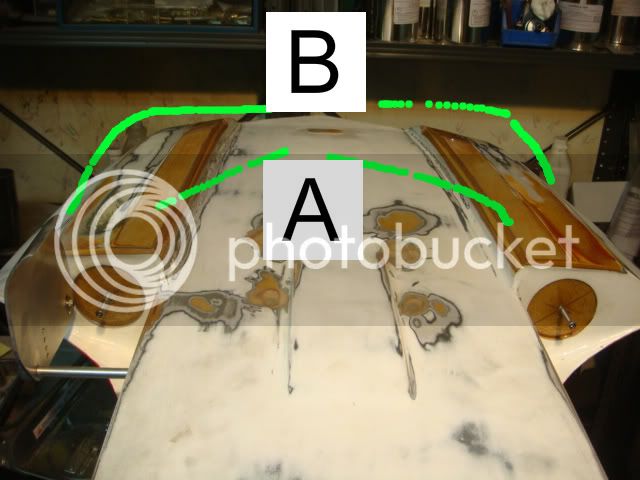
As to the ride pads on the hull they gotta go and new deeper ones installed at the wider B location.

DSC04413.jpg


We were talking over a beer and thinking redesign... fresh builds! Cad up the plans and using the router as much as possible.
 
Last edited by a moderator:
You could make new boats or just work with what you have until you get it right, then build a new hulls.

Wouldn't be too much work to deepen the sponsons and lower the AOA, maybe even fill in some of the airtrap... :rolleyes:

Ain't that Wixey Gauge sweet? Saw the Grimm's using one in Flint last May and just had to have one! :lol:

Got any pix of the final inside layout? :rolleyes:
Fowler tools makes the same gauge. How far is you drive dog from the transom? We like it as close as possible
 
Back
Top