f41stryker
Well-Known Member
- Joined
- Jun 6, 2006
- Messages
- 510
Alright well I mixed up some glue this weekend and dived into building the boat. My goal of this thread is to chronicle the way I'm building the kit but to also provide feedback and perhaps suggestions to the designers that they may incorporate into the manual to perhaps answer questions other beginners may have. I really have no formal experience in the building and rigging of rc boats, the vast majority of the rc boats I have owned in the past are second hand. So building a kit is very new for me and should be a hopefully great learning experience. This thread is not meant as a criticism to the boat designers or writers of the directions, merely its the perspective of new builder.
Building the Tub sides
After unpacking and evaluating the contents of my kit, I let the wood sit out for a few days in the basement of my house where the construction will take place. The only thing that was unusual were the tub sides being fairly curved, I weighed them down with about 50lbs. or so of weight for two days and still they come up curved so extra clamps were brought in for the lamination process. Here is one area I thought the directions could have been perhaps a bit more clear for the true newbie, there is no distinction for what type of glue to use or what side to apply it to. So mix up some 30 minute epoxy and get to spreading. I used a wooden stirring stick to spread a thin layer on the inner slotted tub side as I could scrape off excess with the flat edge of the stick. The epoxy starts to setup kinda quickly, so don't think you have a full 30 minutes of time before it starts to set.
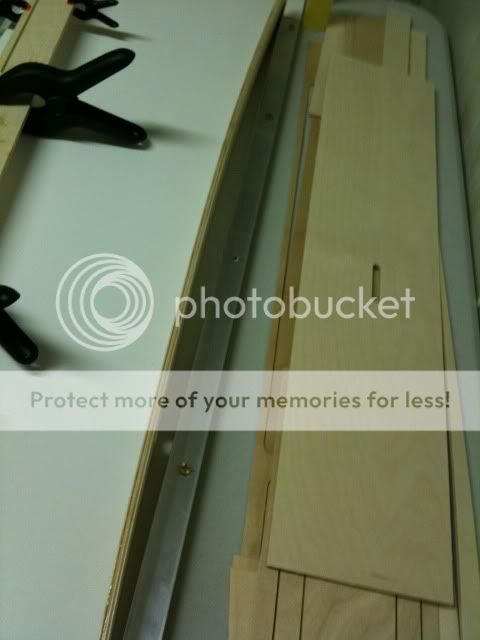
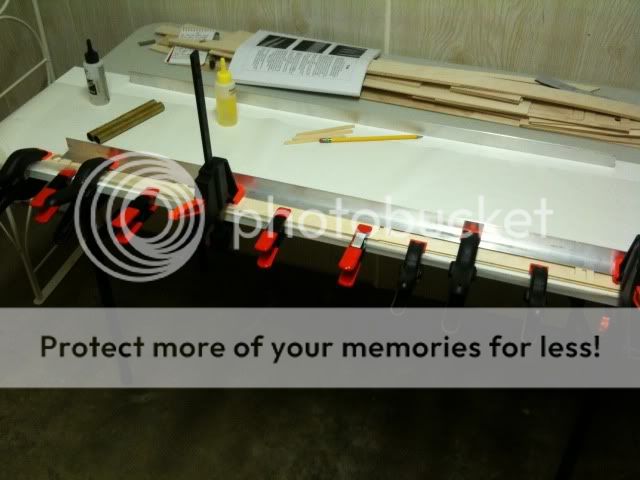
You can see here the side is fairly curved when compared to the angle.
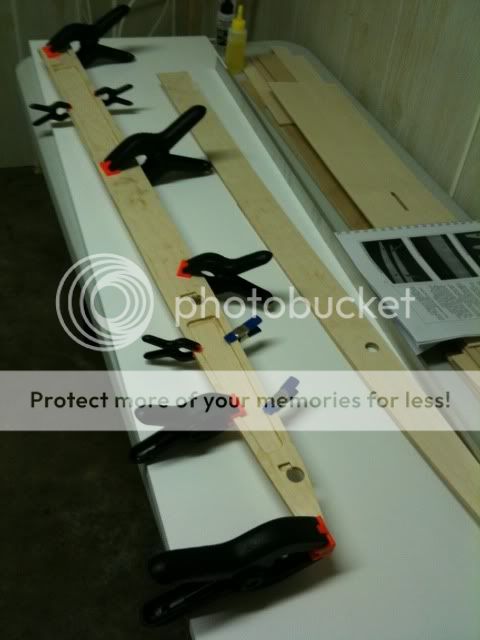
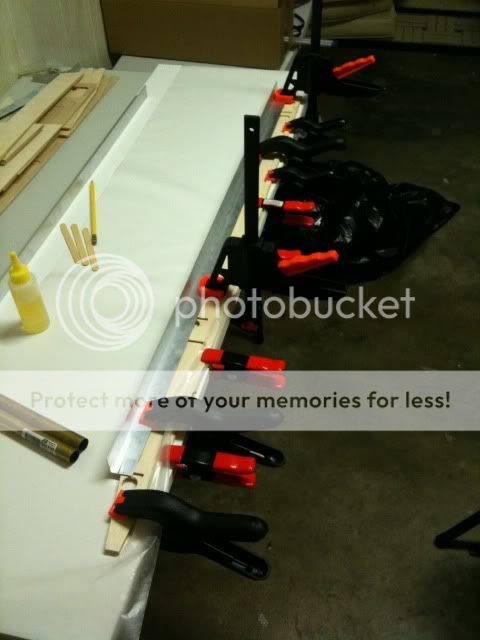
Here shows the other side, I decided to clamp the entire inner/outer side rather than just using weights as the curve in the outerside was severe enough, I worried that without something sitting over the entire tub side itself, some areas may not fully laminate to one another. I used the brass boom tubes as an alignment tube per the directions but removed them after clamping as I didn't want them to "accidentally" become epoxied in here. I'm going to let the parts dry overnight and will resume the build tomorrow evening after work hopefully...
Building the Tub sides
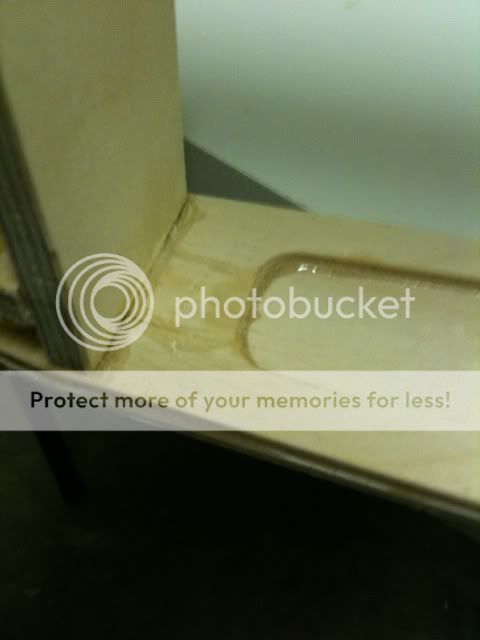
After unpacking and evaluating the contents of my kit, I let the wood sit out for a few days in the basement of my house where the construction will take place. The only thing that was unusual were the tub sides being fairly curved, I weighed them down with about 50lbs. or so of weight for two days and still they come up curved so extra clamps were brought in for the lamination process. Here is one area I thought the directions could have been perhaps a bit more clear for the true newbie, there is no distinction for what type of glue to use or what side to apply it to. So mix up some 30 minute epoxy and get to spreading. I used a wooden stirring stick to spread a thin layer on the inner slotted tub side as I could scrape off excess with the flat edge of the stick. The epoxy starts to setup kinda quickly, so don't think you have a full 30 minutes of time before it starts to set.

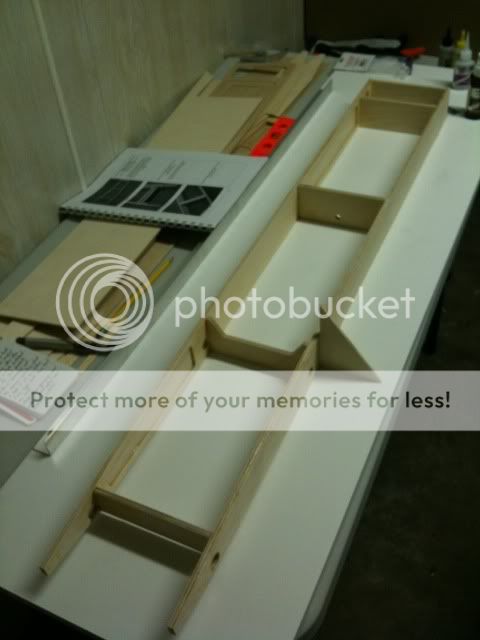
You can see here the side is fairly curved when compared to the angle.

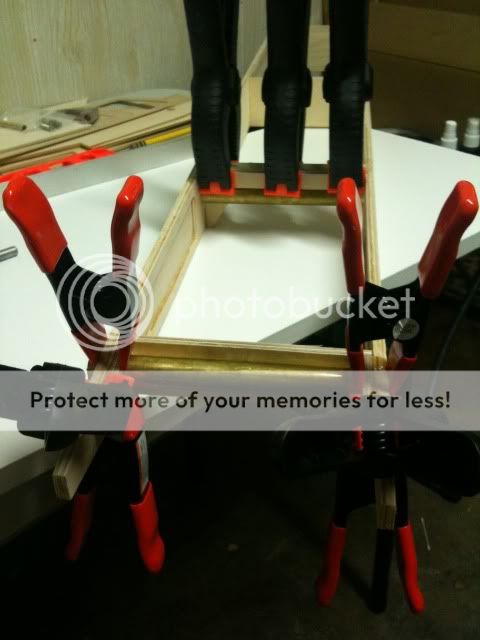
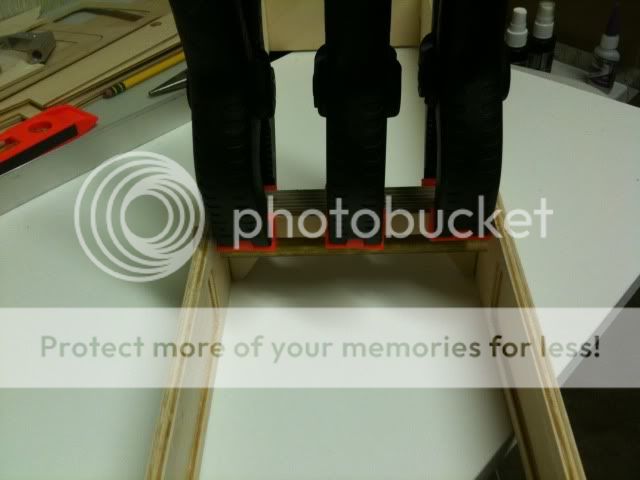
Here shows the other side, I decided to clamp the entire inner/outer side rather than just using weights as the curve in the outerside was severe enough, I worried that without something sitting over the entire tub side itself, some areas may not fully laminate to one another. I used the brass boom tubes as an alignment tube per the directions but removed them after clamping as I didn't want them to "accidentally" become epoxied in here. I'm going to let the parts dry overnight and will resume the build tomorrow evening after work hopefully...


