CF 3.5 Rigger Project

Intlwaters

Help Support Intlwaters:

This site may earn a commission from merchant affiliate links, including eBay, Amazon, and others.
i don't understand the 3/8" cherry transom. on my hawk, where the rudder connects to the tub side it is only 1/16" ply... otherwise, with a traditional rudder mount 3/16 will do fine. I would have 1/16" ply in-between the tub sides and 1/8" doubler that extends even to the tub sides. it will save ya a lot of weight....
 
Hi Tom,

The idea behind the cherry transom was to use wood screws and eliminate the weight of the bolts, nuts and washers. Will have to get a scale and test these ideas. I think you might be right.

The angle of the rear sponsons is 6 deg. (back to the drawing board)

-Mike
 
If you make the width of the bottom surface of the rear sponsons wider at the base and gradually narrower as they get toward the transome, you will be able to keep the tunnel parallel and have the outer edge of them stay in line with the side of the tub.

Hammer
 
Thanks for the drawing, that looks better. I don't think I am going to try to make a mold for them. Maybe sheeted foam would be better.

Mike
 
Tom,

I haven't been able to find aluminum bolts and nuts. Found metric nuts in 3mm and 4mm but no bolts, found aluminum bolts in 5-40, 6-32 but can't find nuts. The nuts I found are anodized flanged lock nuts and would like to find aluminum 4mm x 12mm socket head bolts.

-Mike
 
TRy McMasterCar they have a wide selction of all kinds of nuts and bolts.

www.mcmaster.com
 
Hello,

Here is a picture of the parts I used to make the rear sponsons. Started with cherry and made what I wanted, fabricated the mold from the wood. Made the finished product. I found the process on a web page

http://www.cstsales.com/articles_for_model...el_builders.htm after 1 failed attempt on my own. I followed every step with every product used in the instructions, the mold and sponsons turned out flawless. It took a couple of weeks but well worth it. Future molds will go much quicker.

-Mike
 
you can't really tell from the pic.... you did make the corners sharp right?
 
Tom,

I wish I could get a picture with a better angle, the corners turned out sharp, no nicks of rough spots. I think if I did it again I would add some of the West Systems graphite powder to the epoxy that would make the edges bullet proof. Working on a CF front sponson boom tube mount now. It will bolt to the front of the motor mount.

-Mike
 
Here is a picture of the motor mount I made. It bolts to the sides and to the rear sponson boom tube block, ties it all together nice.

Mike
 
This is the rear sponson mount. I used a dowel for a mold and covered it with 3 layers of CF and 1 layer of kevlar. You can see the texture that peel ply gives to the finish. I will be able to adjust the rear height with some shims under it.

Mike
 
The servos are mounted to CF angle. The angle stock was made on an aluminum piece of angle as a mold.

Found a carbon tube that fits the stuffing tube good.

Mike
 
Motor mount and rear sponson mount all together in the hull.

Notice the nice fuel cell from Grimracer.
 
Starting to look like a boat. 3.3 lbs. without the cowling and turn fin.
 
oh WOW!!! I am totally floored! that is awesome! Mike you are the Carbon Fiber Master! That looks totally cool! :eek:

are the front sponsons made in 2 parts? top and bottom... or is it a foam core?

what are you doing with the hardware? and CF components?

Again Mike.... that is totally cool! great job!
 
beeeeaaaaaauuuuuttttiiiiifffffuuuuulllll! ;D

Looks like your at the stage where your getting excited about seeing it on the water.
Hammer
 
Thanks Tom,

The sponsons are foam core. The hardware is Speedmaster, found 8-32 Aluminum bolts and nuts made for r/c cars by Associated(Blue anodized).

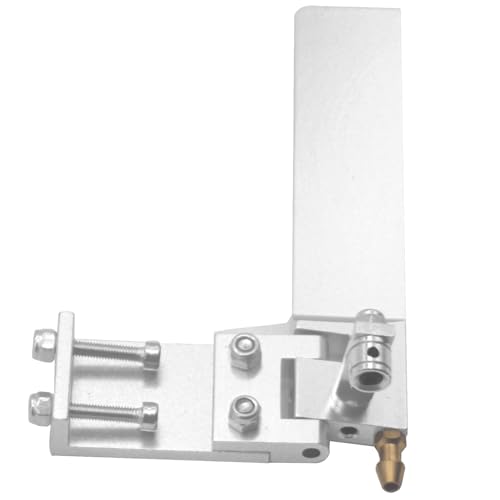
I am going to make the turn fin and mount out of CF.

Mike
 
hey mike.... dont laugh.... but does it float? I know CF in general does not float like wood will.... i would test it out before you get it in the water.
 
Back
Top