AJM Rev3

Intlwaters

Help Support Intlwaters:

This site may earn a commission from merchant affiliate links, including eBay, Amazon, and others.

RodneyPierce

Well-Known Member
Joined
Mar 26, 2006
Messages
4,464
<p>Alright guys, figure I might as well start a new thread here, instead of cluttering up the Rev2 thread.  This is the newest version.  I took Anthony's rigger and made a few changes to it.

I added 3 inches to the overall boat length.

Ski and Sponson AOA changes from my last build.

Narrowed the tub to 2.75 inches from 3 inches.

Changed the construction to 1/32 ply over 1/16th balsa core for the tub sides and 1/32 ply over 3/4 balsa for the sponsons.  I did this in an effort to gain some more rigidity and still retain a light build (not sure if its going to work out light yet or not)

Added a bait box

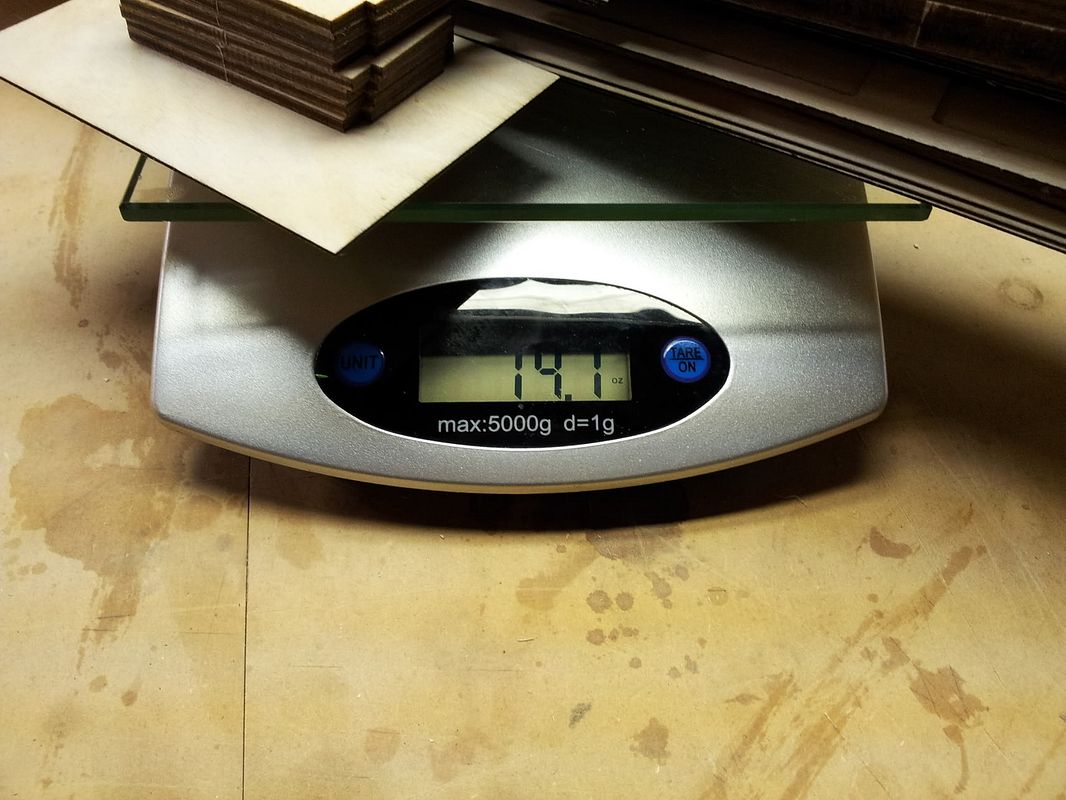
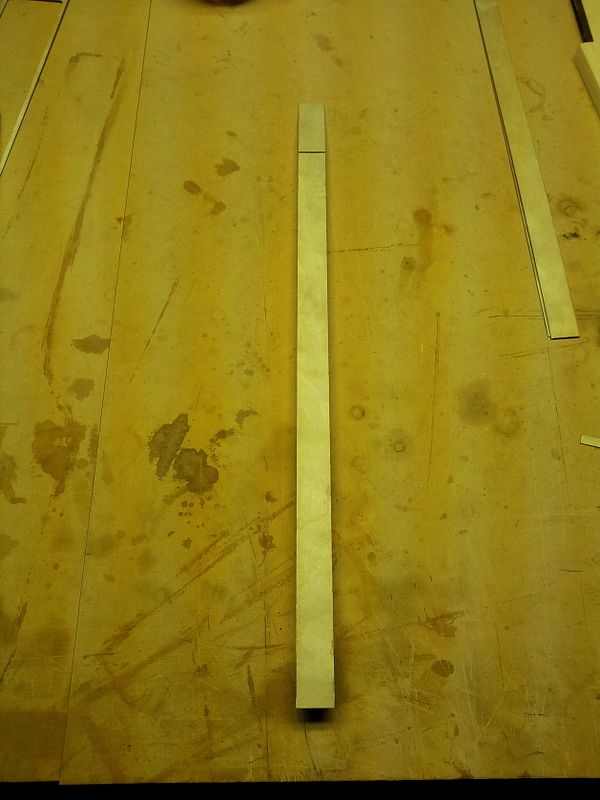
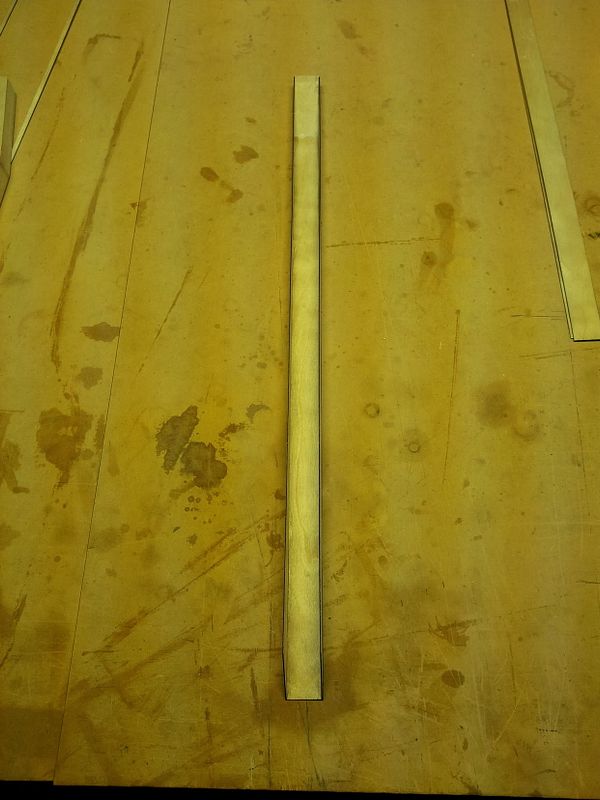
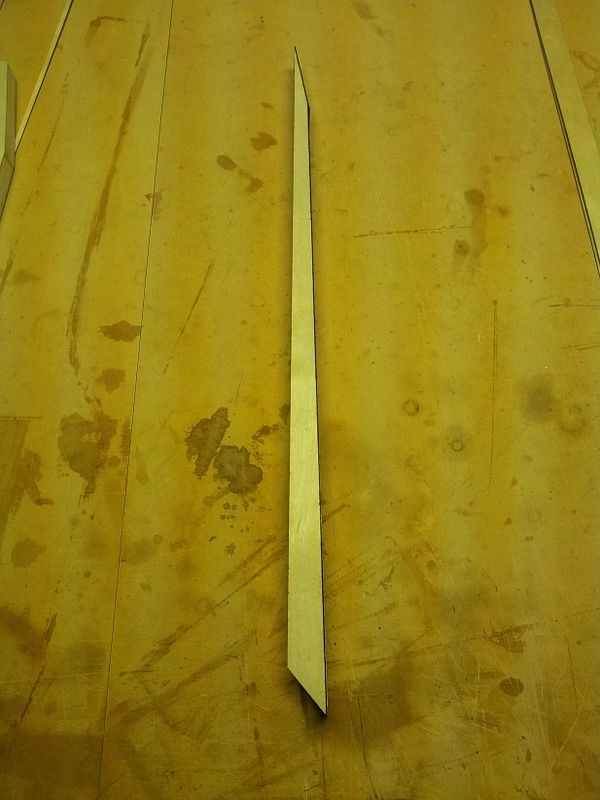
Here is a picture of the kit when it arrived and its total weight for wood was 14.7 ounces.
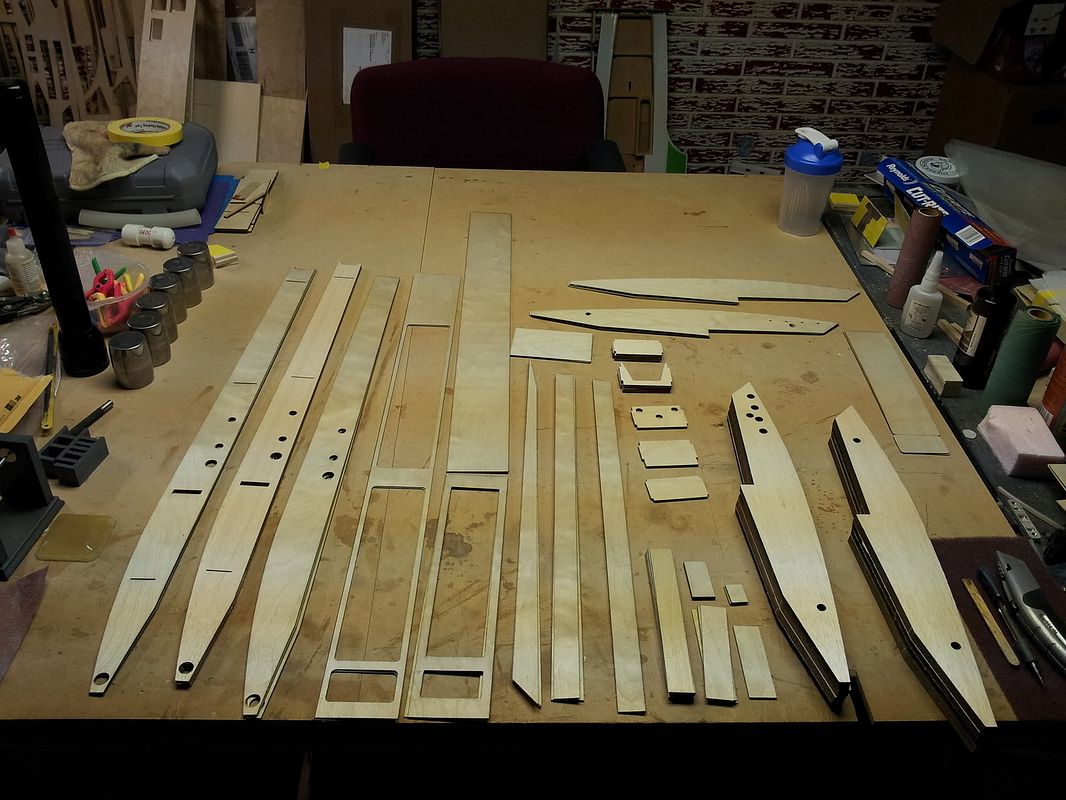
IMG_20120728_093853.jpg
IMG_20120728_094701.jpg
 
Last edited by a moderator:
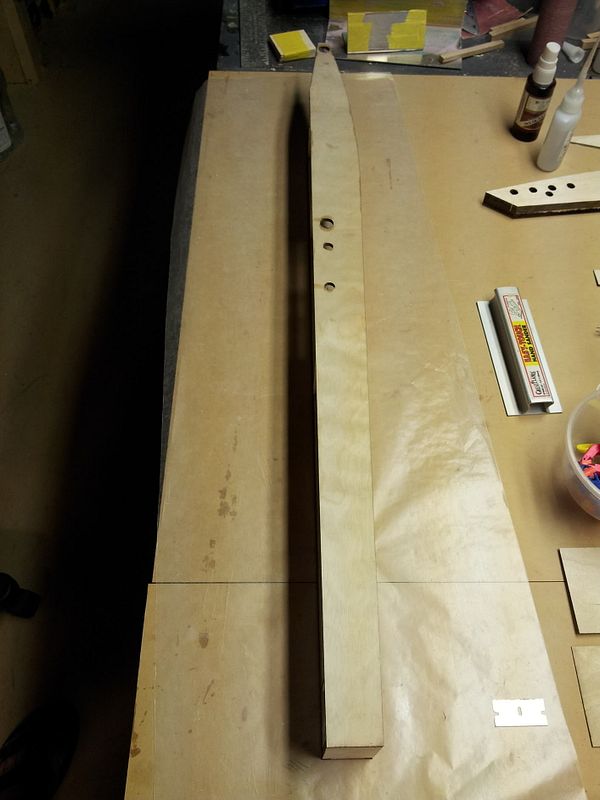
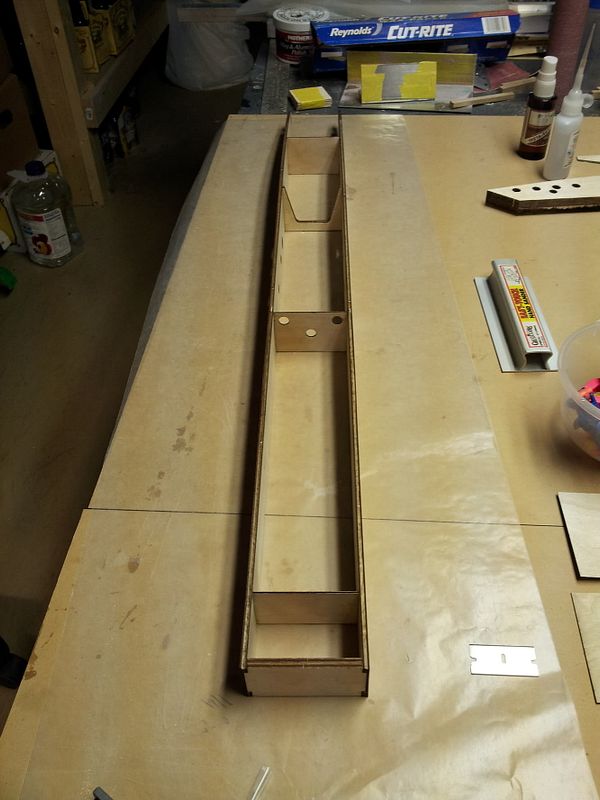
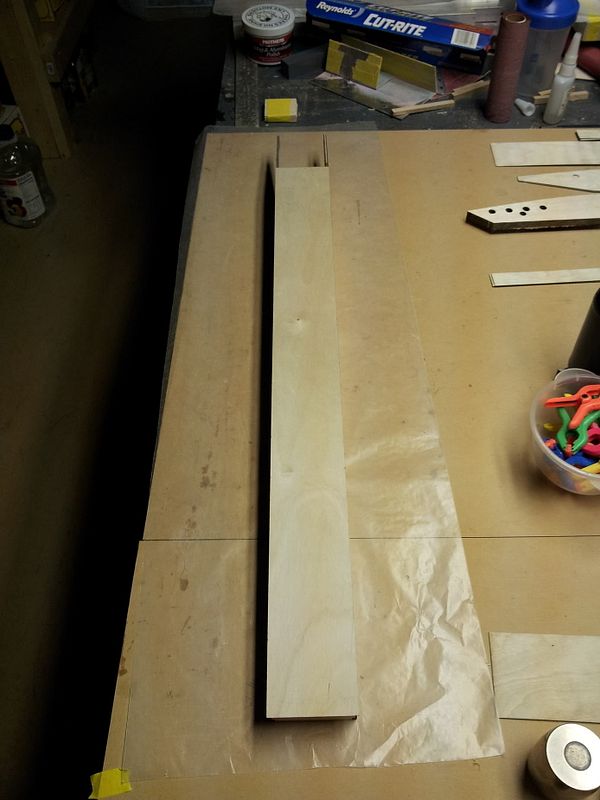
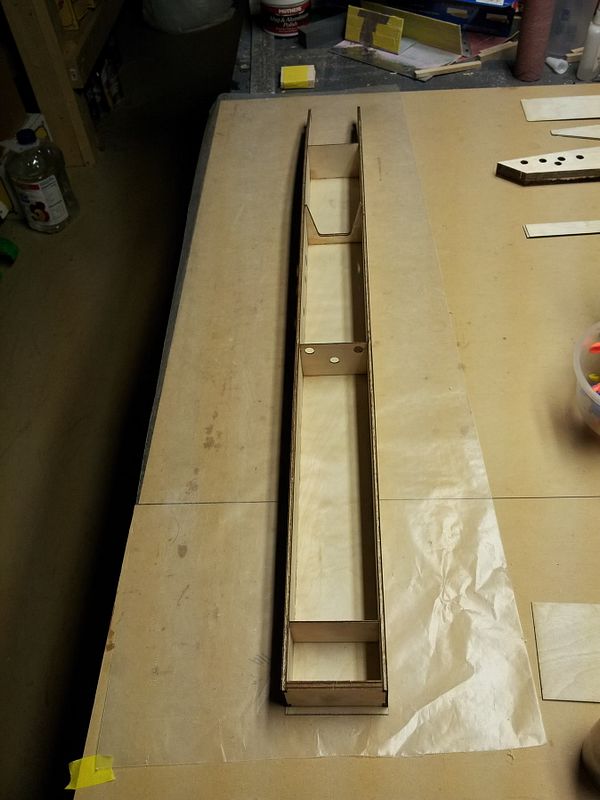
And here are a few pictures of the tub so far.  Ive got the sides laminated, and cross formers glued in place.  Also got the bottom on.  So far the tub weighs in at 6.7 ounces, so Im thinking its going to end up a little heavy.  But we shall see.

IMG_20120729_170356.jpg
IMG_20120729_170345.jpg
IMG_20120730_052949.jpg
IMG_20120730_052940.jpg
 
Last edited by a moderator:
Oh, no doubt! The Rev2 works awesome! But always looking for something more. Sometimes it works, sometimes it doesnt.

Plus, I really like to build boats ;)
 
I totally understand.. I made a bunch of these things just trying to make them better.. I guess I don't have the time I used to have.. winter maybe... I may do testing on some crazy sponson ideas to see if I can get gains without building a whole boat.
 
Alright, more progress tonight.

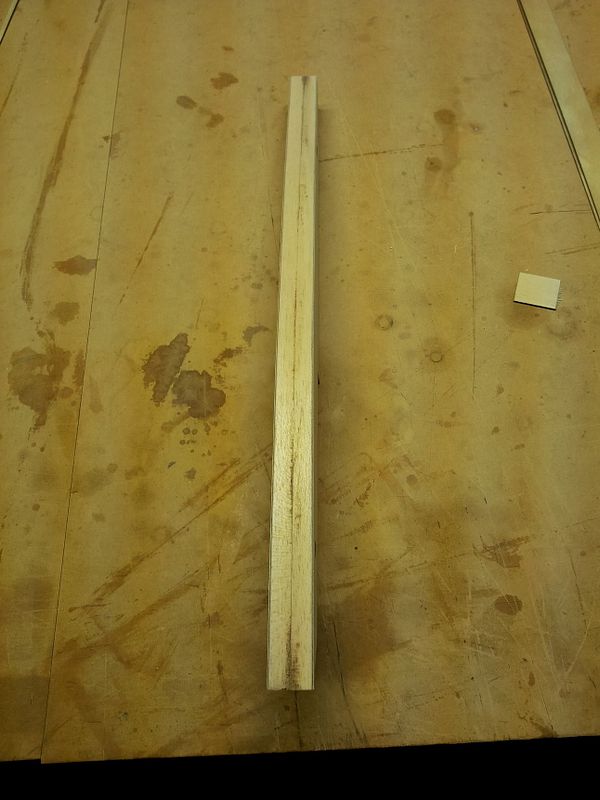
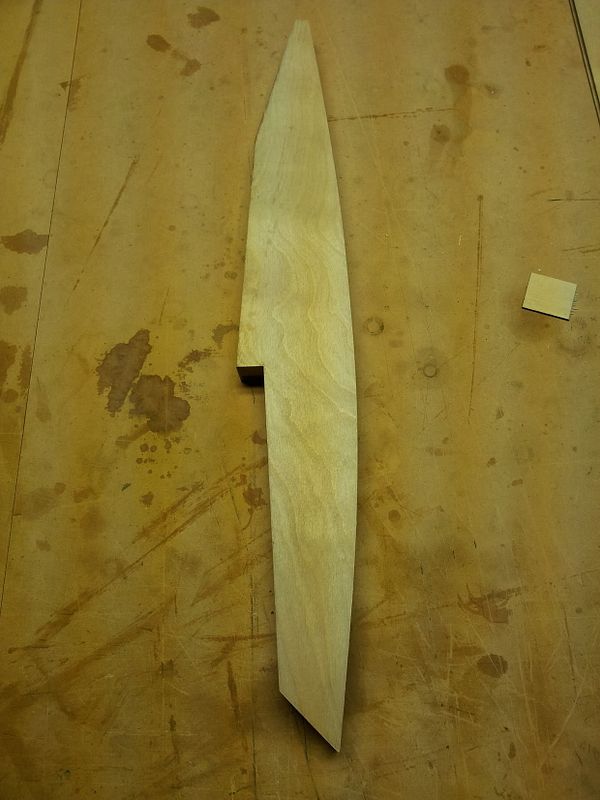
One sponson balsa sandwiched, skinned and sanded ready for top, bottom and end sheeting:

IMG_20120730_180134.jpg


IMG_20120730_180143.jpg


IMG_20120730_180152.jpg


IMG_20120730_180200.jpg
 
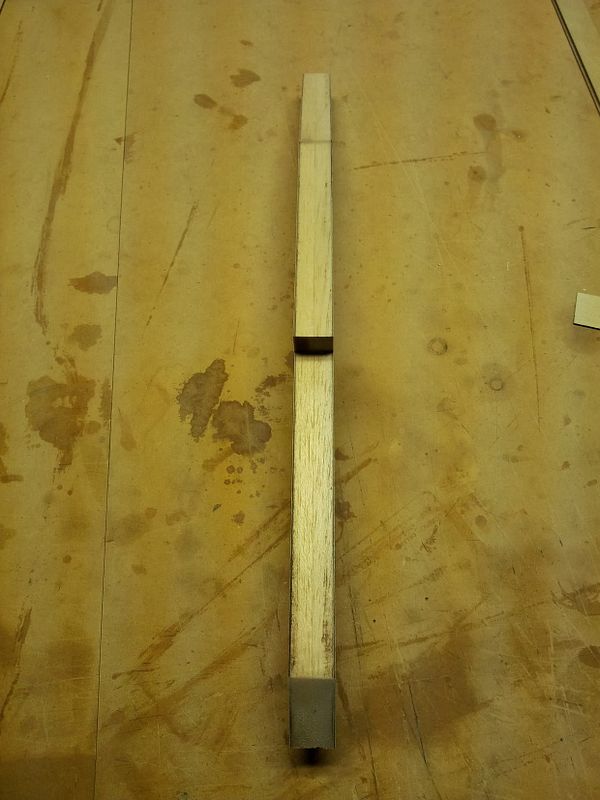
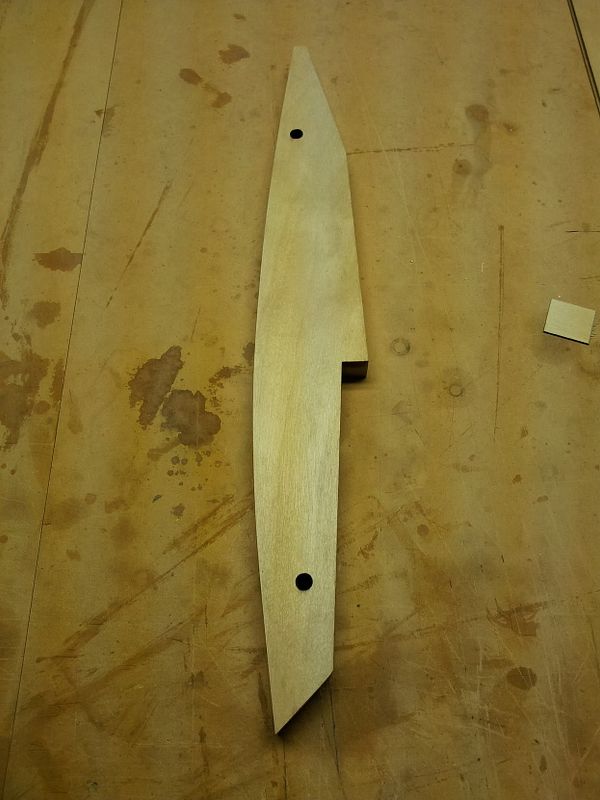
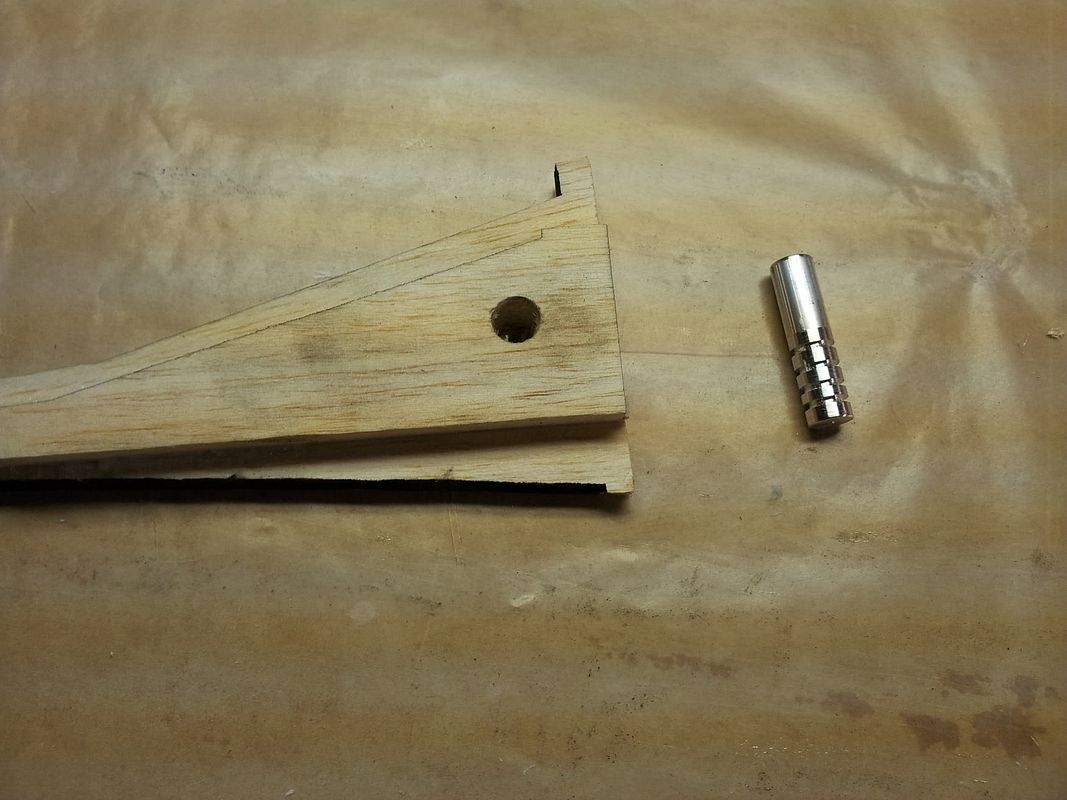
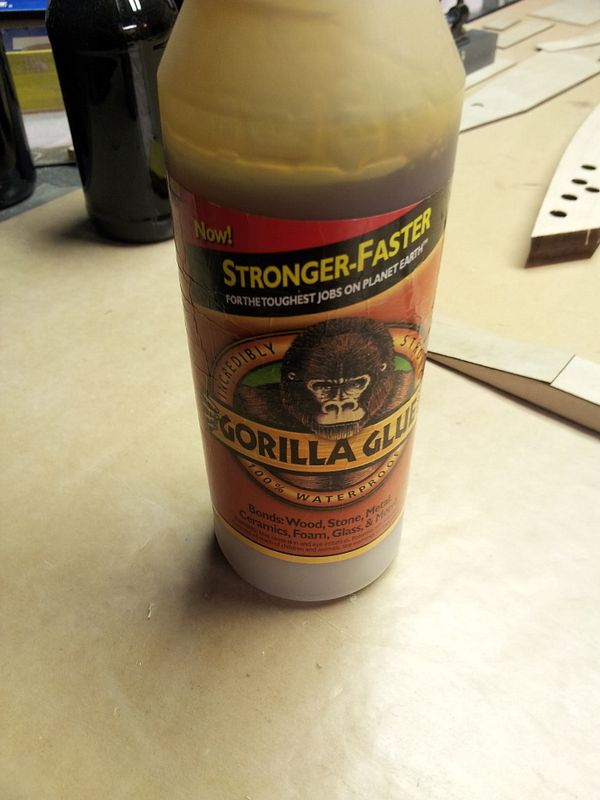
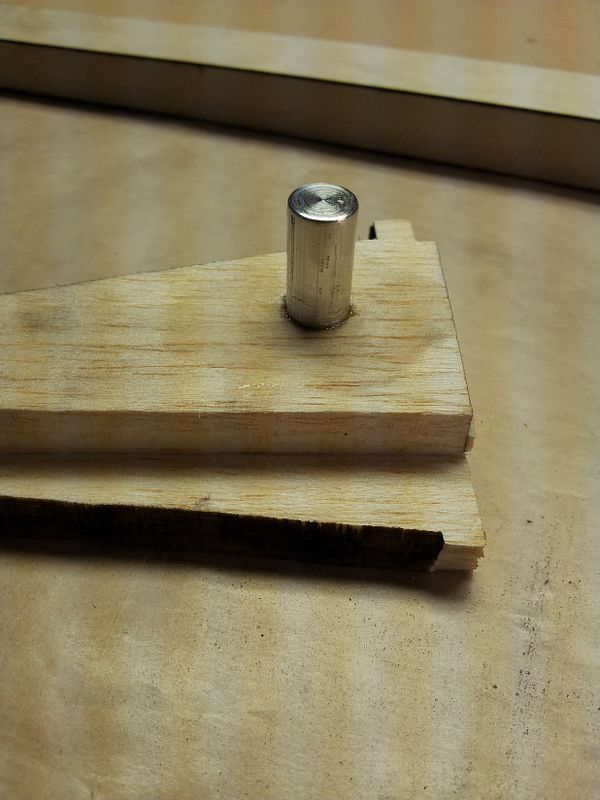
Doing a test here with a 6061 Pin with some grooves turned in it, gorilla glue and the balsa. I had the core's cut from medium balsa, and have heard the pins pull right out. Using gorilla glue Im thinking might solve that issue. It SHOULD expand into the balsa and the grooves in the pin and sort of "bond" the pins and balsa as one piece. Ill test it for strength before I decide to move any further on the turn fin sponson.

IMG_20120730_181945.jpg


IMG_20120730_181949.jpg


IMG_20120730_182131.jpg
 
Ski tacked together. The ski sheeting is cut to size, so I just used a square to hold the sides at 90* and used thin CA to tack it together. The ski will get 1/8 x 1/8 basswood stringers on each side for strength. Thats also how it will be attached to the bottom of the tub.

IMG_20120730_180217.jpg


IMG_20120730_180226.jpg


IMG_20120730_180232.jpg
 
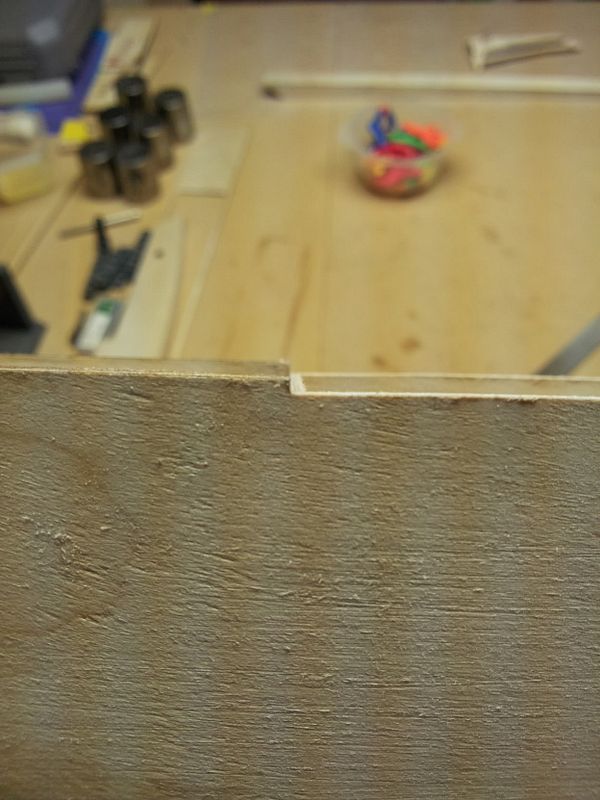
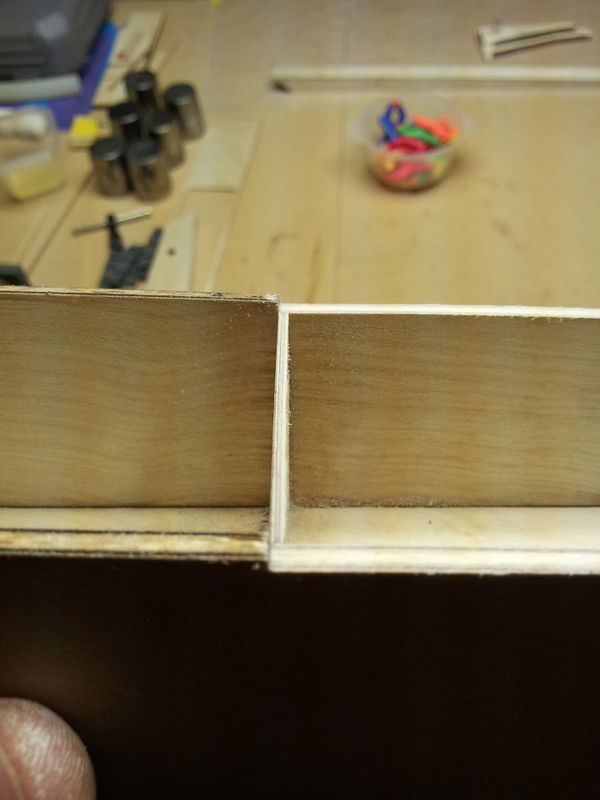
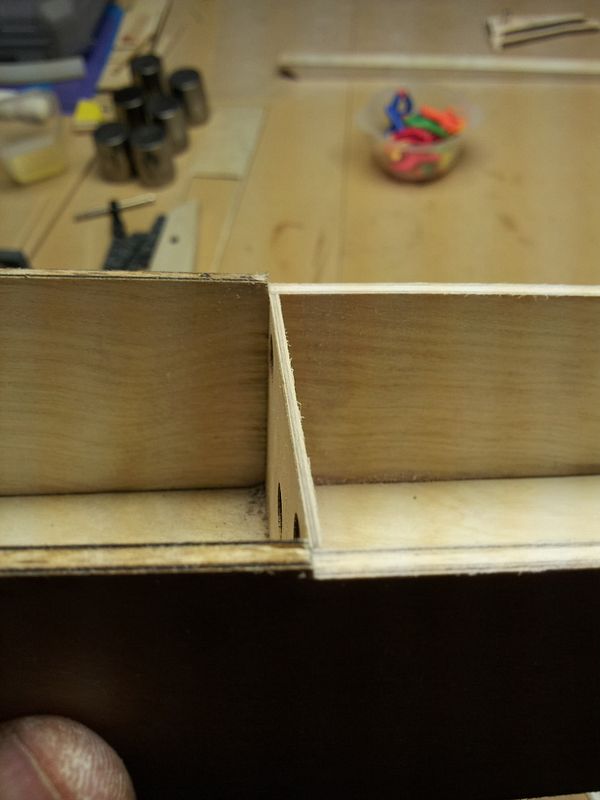
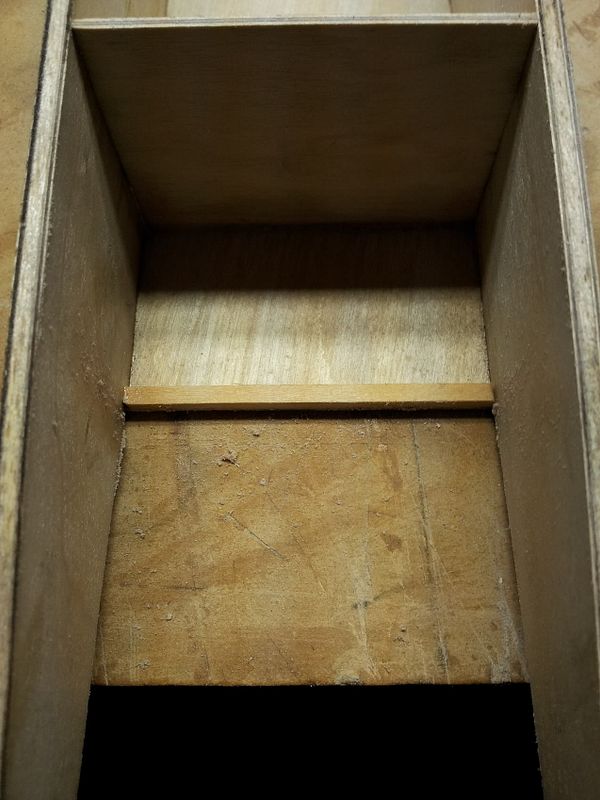
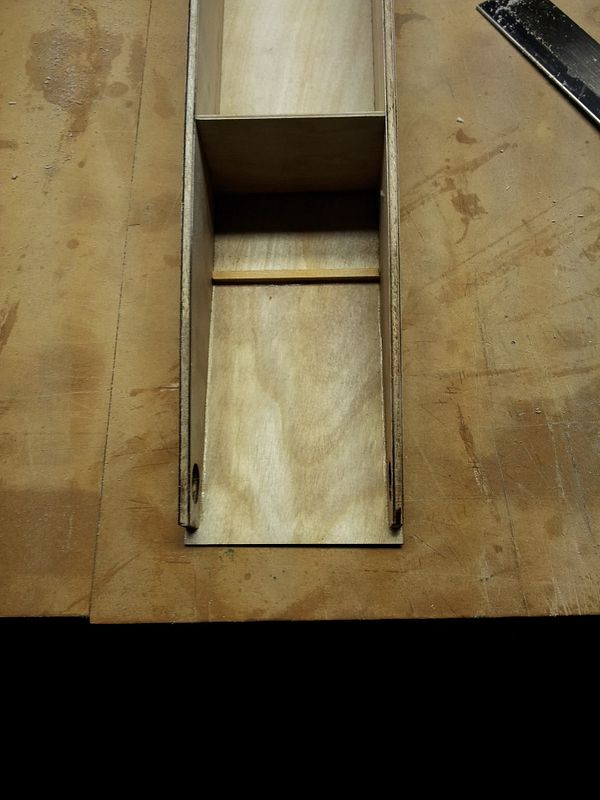
And finally so far for tonight, the OUTER side sheeting IS NOT cut out with the little step down for the inner sheeting (the inner and balsa are) that surrounds the radio box/bait box. I just use a block sander to slowly sand down the area like so until all bulkheads and the tops of the tub sides are level with each other. Next step will be to line the inside of the radio box and bait box with 1/8 x 1/8 basswood stringers, and glue on the inner sheeting.

IMG_20120730_182854.jpg


IMG_20120730_182841.jpg


IMG_20120730_182838.jpg
 
Doing a test here with a 6061 Pin with some grooves turned in it, gorilla glue and the balsa. I had the core's cut from medium balsa, and have heard the pins pull right out. Using gorilla glue Im thinking might solve that issue. It SHOULD expand into the balsa and the grooves in the pin and sort of "bond" the pins and balsa as one piece. Ill test it for strength before I decide to move any further on the turn fin sponson.

IMG_20120730_181945.jpg


IMG_20120730_181949.jpg


IMG_20120730_182131.jpg
we had one pull the pin out with chuncks of balsa attached.had to glue in a hardwood dowell,and sheet over that,then no more problems
 
Hey Greg, toss some couplers in there too! haha. I just burnt one out last weekend and on my last.

Steve, I went down this morning and couldnt pull the pin out by yanking on it with a pair of channel locks. BUT, if I spun it first it would break the glue loose then I could spin it out of there. I assume you guys pulled the one on the turn fin side rear pin out? I also drill and tap that one for a 6-32 and machined washer to go through the outside of the sponson sheeting to add support. I think straight in the balsa will be fine for the other 3 pins?
 
Alright, tonight got the top inner piece all sanded down, along with the rest of the top mating surface of the tub sides. Just sanded until flush with the bulkheads, and until blended nicely and level with the top inner piece. see pictures below.

IMG_20120731_164147.jpg


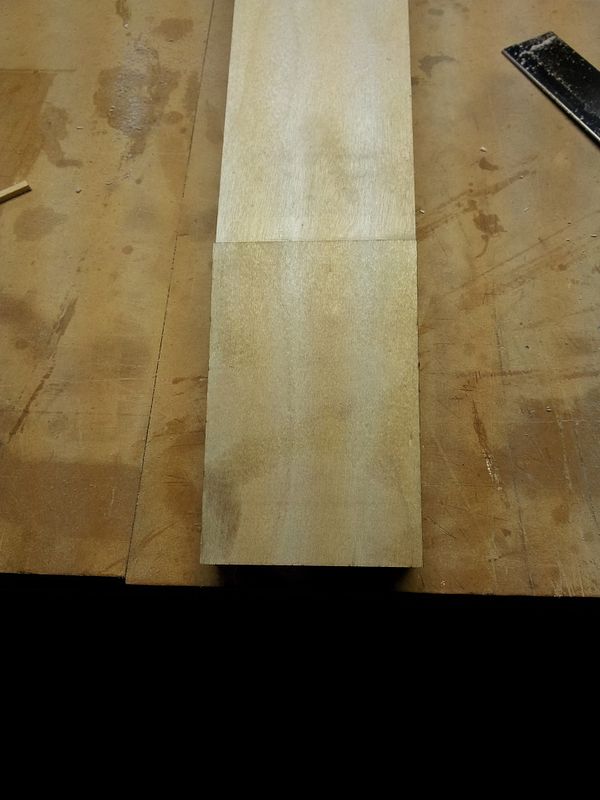
The next thing I did was sand the bottom sheeting and getting it ready for the forward pad as seen below.

IMG_20120731_165139.jpg


Little tip, glue 1/8 x 1/8 basswood strip across the ply on the inside before sanding. This will add some rigidity to it and make it easier to keep as much of the same angle across there as possible.

IMG_20120731_165157.jpg


Front pad glued on and sanded:

IMG_20120731_170608.jpg


IMG_20120731_170628.jpg
 
I also glued on the top deck tonight. On the front I just glue 1/8 x 1/8 basswood stringers across the nose opening so there is something to glue the deck too. Some people choose to use foam there. I myself know that wood boats will float, as long as they are sealed. So if not using foam, make sure to keep this front compartment well sealed and free of any water.

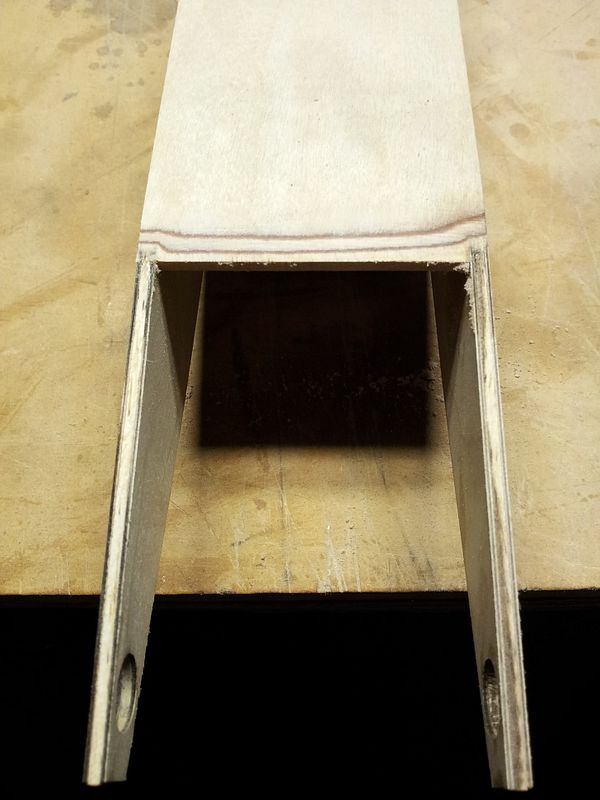
I will post more pictures tomorrow night of the completed tub before epoxy coating and 1/8 x 1/8 basswood stringers. I will also be epoxying in the outer boom tube supports.
 
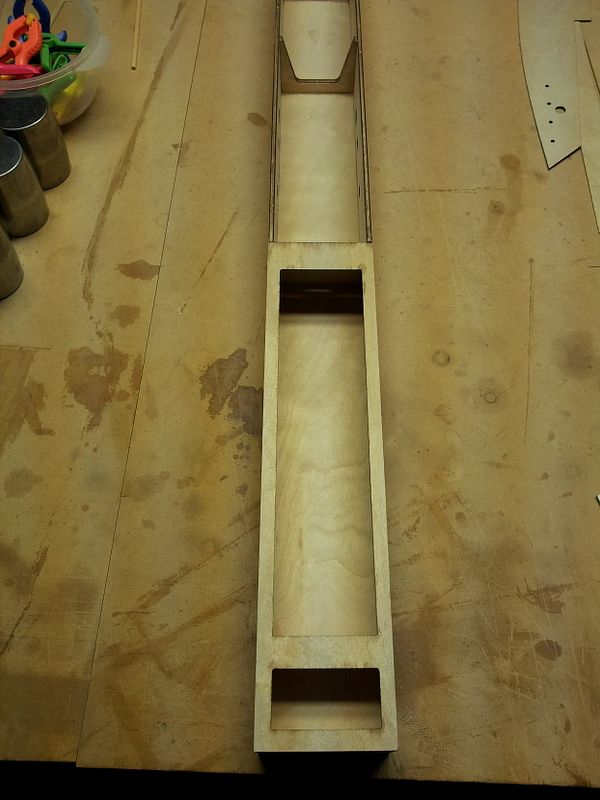
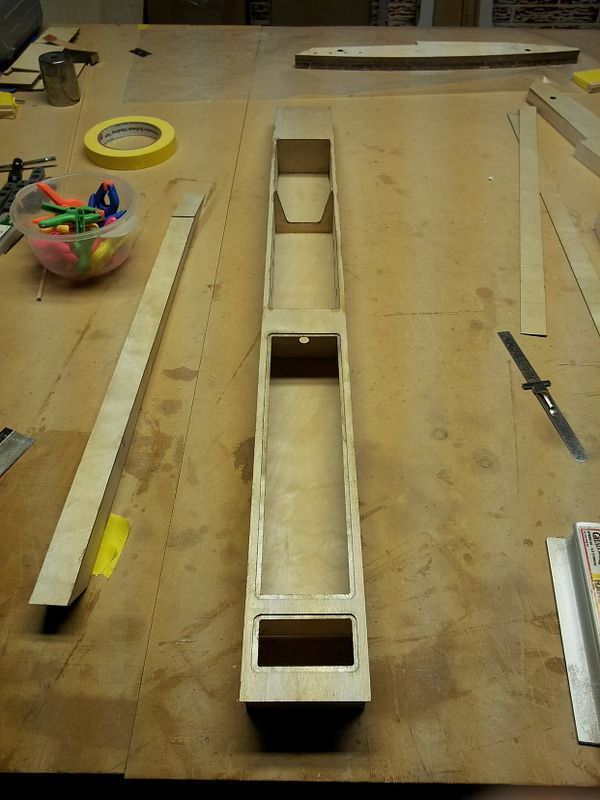
Anthony, so far so good! I like them as well. Here is a picture of the completed tub pre sanding and 1/8 x 1/8 strips for corner/bulkhead reinforcement.

IMG_20120801_055218.jpg
 
You know RP, this tub design started out being as narrow as you are making it. I made it a bit wider after a few builds because it was difficult getting everything packed in there. I think you will find your radio box getting tight with that bait box in there too,.. but still very do-able.. you are inspiring me to get back to my building bench..
 
Anthony, the radio box is actually very close to the size on the Rev2. Remember there is added length to this tub ;)

The Rev2 radio box has a ton of room in it. I was at first worried about the narrower tub, but after looking over the Rev2 for a while, I figured removing 1/8 from each side really wouldnt be much of an issue.
 

Latest posts

Back
Top