Here’s what my “thunderboat” looks like now

Intlwaters

Help Support Intlwaters:

This site may earn a commission from merchant affiliate links, including eBay, Amazon, and others.
Where is the best place to put the water line exits on a Zipp Missile?
If you look at my pics in post 152 you can see my water exit coming out the deck on the left side. You can easily see if you’re properly cooling the motor this way. I’ve done out the side in the past and it’s hard for me to see it shooting out while the boat is running. It’s really a matter of preference but I like doing this way from a visibility standpoint.
 
Good idea, Rich. I’ll have to wait until I get the decks on to drill the holes so I can make sure that they clear the tuned pipe.
Spent most of today putting in the driveline. Overall I was pretty happy with for my first driveline. Tomorrow, I may tackle the driveshaft.
 

Attachments

  • IMG_2972.jpeg
    IMG_2972.jpeg
    1.9 MB
  • IMG_2973.jpeg
    IMG_2973.jpeg
    1.2 MB
  • IMG_2971.jpeg
    IMG_2971.jpeg
    1.3 MB
Worked on the driveshaft last night. In order to get it in, I had to remove the motor, and force it into the collet, and then put the motor back in. Then I had to tighten the collet onto the engine. It was just a very tight fit in the collet. I got the measurement for how much to cut off the front of the driveshaft, so today I’ll be reversing the process of yesterday, removing the shaft, taking 3 1/4 inches off the front of the shaft, and then reinstalling it. Do I put some grease on it? What kind of grease? Waterproof?
Think I’ll have to stretch out that collet a bit. Not looking forward to removing the engine each day just to re-grease the shaft. Also, how do I keep the driveline in place in the stuffing tube? I don’t want it to move forward and touch the motor…..Help!
First of all, cut the tube that’s glued into the boat back some. With the collet loose, you want some room to work. Also, you need to get a shaft saver on the flex cable between the collet and where the cable exits. Most use a 5/16 wheel collar installed on the flex cable. If your cable breaks at the collet or if the collet lets go, you will save your shaft and prop from going to the bottom. You’ll want to cut your stuffing tube (what the flex cable rides in) back to just a little longer than the tube that’s glues in the boat (Maybe 1/16 or so)

There are a couple ways to go about holding in the stuffing tube:

1.) Get a clamp from Zippkits or whomever to fit that 11/32 shaft log. Set your dremel up with one of those thin cutting wheels (not the thicker fiberglass wheels). Then carefully cut slits on either side roughly 1/2” long or so. When you install the stuffing tube, you can then cinch down on that clamp to hold it in. I’ve attached a pic of the clamp in my Slingshot. It came with an oiler but I just add oil directly. (It’s a wire drive set up, don’t worry about that right now). You should be able to get the clamp without the oil fitting.

2.) Turn the boat over and drill an 1/8” hole in the bottom of the shaft log and deburr it with a file. Rough up and clean both the shaft log and stuffing tube and put it in the boat . Then where you drilled the hole, heat up that joint and flow in some solder. This generally hold them together . You may need to resolder from time to time. You can try red loctite as well. Either way you’ll need to heat up the joint while pulling to remove the shaft.

Lastly, as far as grease, use a marine grade grease. I’ve used Green Grease or Quicksilver. Some guys use atf and an oiler. I’ve attached pics of the grease. . Shoot some in the shaft and also coat the flex shaft. It’s messy. But you should only have to do this before the run day. After you’re done, take it out and wipe it down and then do it again before the next time you run.

I think that covers your questions.

IMG_2816.jpegIMG_3358.pngIMG_3357.png
 
Ok Rich, I’ve got some work to do.
I worked on some other parts today too.. I cut my shaft to the correct length. I have to go back now and make some adjustments to the shaft set up to make it more stable.
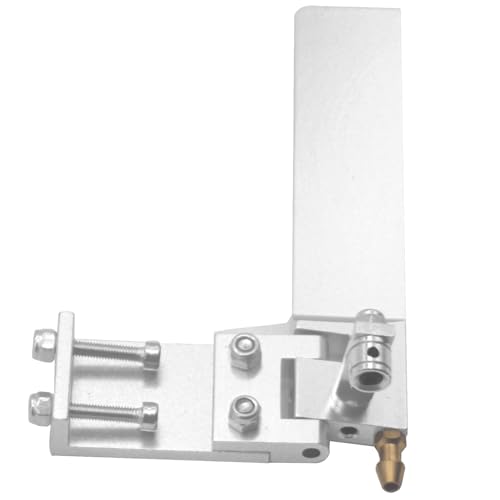
I put in the water lines and the rudder. I placed the throttle servo mount in, and the radio box. Those items still need to be glued in. I put the rudder servo back in.
 

Attachments

  • IMG_2977.jpeg
    IMG_2977.jpeg
    1.9 MB
  • IMG_2975.jpeg
    IMG_2975.jpeg
    1.6 MB
  • IMG_2979.jpeg
    IMG_2979.jpeg
    2.1 MB
Ok, so I’m getting kinda close to the end of this build. I decided to check the COG before everything is done, so maybe I could move servos and radio components around a little to get the COG right.
I found out Holy Crap, I am really A$$ heavy. I had to put about 1.5 lbs of weight in the front of the boat to get it to balance on the 3rd frame. Ok, all you expert Missile Zipp Kits builders, did you have to put weight in the bow to get the boat to balance? If so, how much? The instructions say not to worry about adding weight, that the boat can handle it, but 1.5 lbs? That’s a bunch! Help!
 
Well I have been posting my progress on a different section recently. I jumped back here to put some updated pics on the Missile. All I have left to do is some detail sanding, and some finishing epoxy coats. Then paint and vinyl decals.
 

Attachments

  • IMG_2551.jpeg
    IMG_2551.jpeg
    2.2 MB
  • IMG_2550.jpeg
    IMG_2550.jpeg
    2.3 MB
  • IMG_2549.jpeg
    IMG_2549.jpeg
    1.7 MB
  • IMG_2547.jpeg
    IMG_2547.jpeg
    1.7 MB
Well I have been posting my progress on a different section recently. I jumped back here to put some updated pics on the Missile. All I have left to do is some detail sanding, and some finishing epoxy coats. Then paint and vinyl decals.
Very nice, but you need to get air into it somewhere.
 
Hey All
Have you bought any Scotch brand blue painters tape recently? I bought a roll yesterday of 1 inch wide and it was $5.98!!!! Dang! I am going to have to adjust how I use blue tape……
 
Rick
I was trying to avoid putting those holes in the rear deck, or cutting out the dashboard completely, but I guess I’ll have to do one or the other.
A hole in the front of the cowl is good if you are not going to race it. If you are going racing you should take a look at how the Insane TB gets its air by the side of the cowl. This helps to eliminate wash downs. Remember I said helps, not prevents.
 
Hey osracer
I looked at the insane setup, and I see what you are talking about. The one thing that I notice is that there are no holes in the rear of the boat to setup a flow of air through the hull for cooling. So the air goes in those big gaps in the front, but it can’t escape out the back. One of the things that has me hesitating to cut out my instrument panel is the thought that I may set up a poor air flow……air comes in the front of the cowling, and then exits out of the instrument panel, and short circuits the tuned pipe, which I would think generates the most amount of heat in the hull. What do you think?
 

Latest posts

Back
Top